


OwlPay Wallet Pro: Complete Guide (Part 2)|Add Recipients and Start Sending Globally
In the previous article, we walked you through the basics — from registering your account to creating a new wallet or importing an existing one. Now, in this next part, we’ll guide you step-by-step on how to add recipients from scratch. Once that’s done, you’ll be fully ready to use OwlPay Wallet Pro to send USDC directly to local bank accounts in over 20 countries — with instant fiat conversion, no steep fees, and no intermediary banks. Get ready to experience the seamless bridge between stablecoins and traditional finance!
Step 1: Add Your First Recipient
How to start:
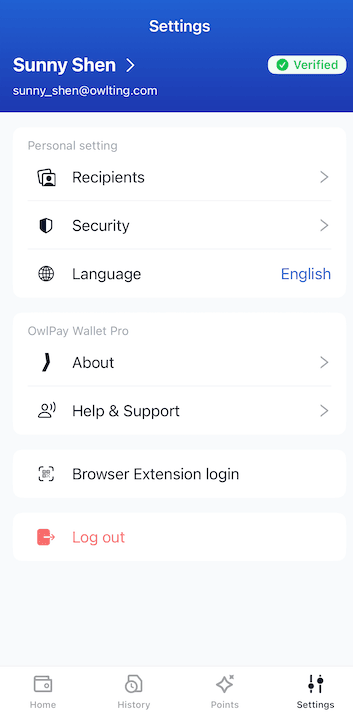
- Home
- Tap [Settings]
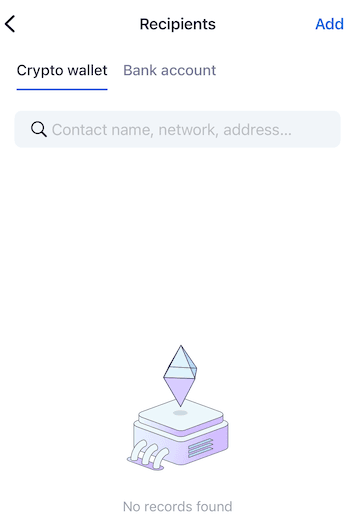
- Tap [Recipients] (top)
- Tap [Add] (top-right)
- Add a Recipient and Set Up a Transfer Method
two options:- Crypto Wallet → Recipient receives crypto directly in their wallet
- Bank account → Recipient receives converted fiat currency in their bank account
- Tap [Add] (top-right)↓

- ↑ Select [Bank account]
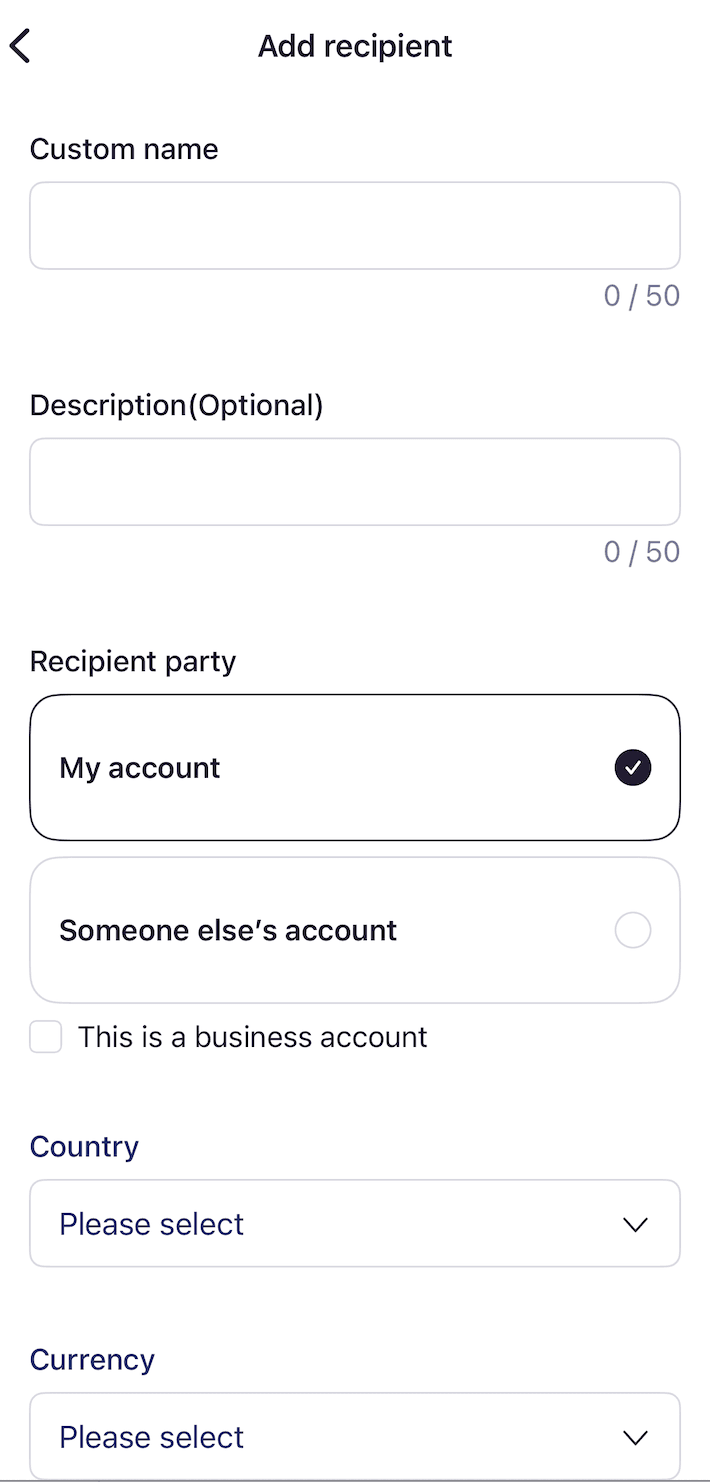
Fill in the following fields:- Custom name (optional): Enter a name to identify the recipient (e.g., "Andrew). Max 50 characters.
- Description (Optional): Add a note if desired (max 50 characters).
- Recipient party: Choose Someone else's account (most common)
- Or My account if you're adding your own bank details for withdrawals.
- (Optional) Check This is a business account if applicable.
- Tap [Country] → Search or scroll and select a country.
- Tap [Currency] → Select the currency your recipient would like to recieve.
❏ Important:
The Send feature (convert USDC to fiat and deposit directly into the recipient’s local bank account) currently supports payouts to bank accounts in the following countries:
| Payout Country / Region | Code | Currency Paid to Recipient |
|---|---|---|
| Mexico | MX | MXN |
| Brazil | BR | BRL |
| Nigeria | NG | NGN |
| Colombia | CO | COP |
| India | IN | INR |
| Hong Kong | HK | HKD / USD |
| China | CN | CNY / USD |
(More countries are being added regularly, so stay tuned for updates!)
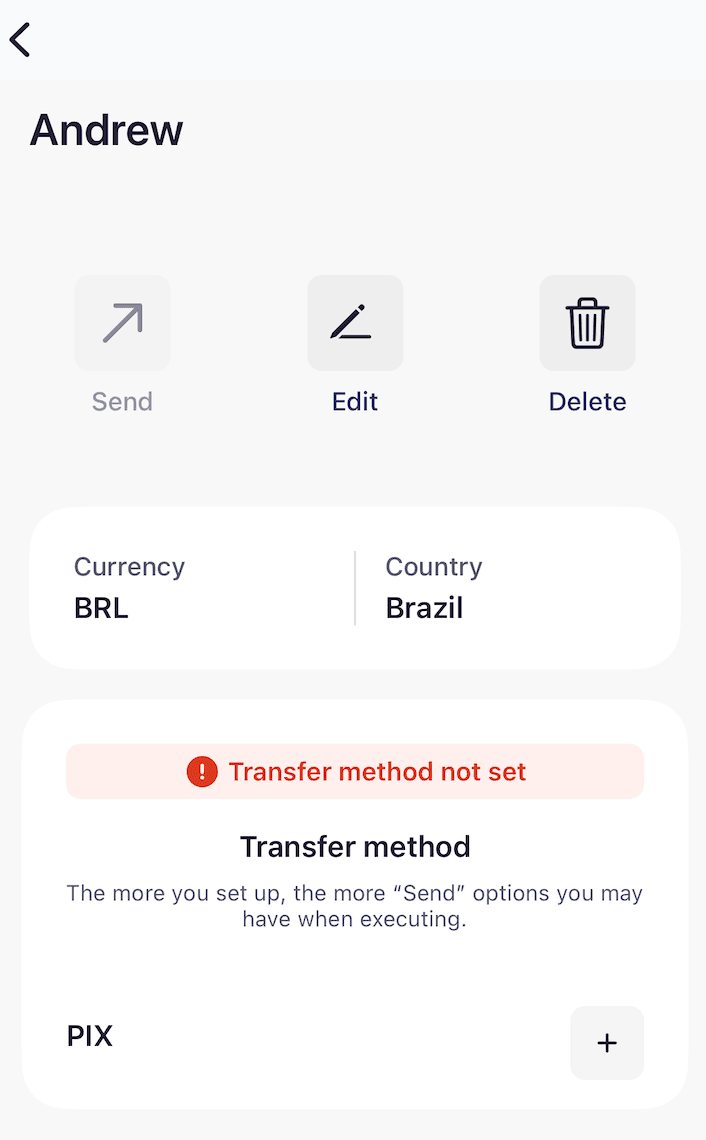
↑ After selecting [Country] and preferred [Currency], it will automatically display all available local payment methods for that country. (For example: users in Brazil will see “PIX” – Brazil’s instant payment system)
- Find the payment method you want to add (e.g., PIX), then simply tap the “+” button next to it.
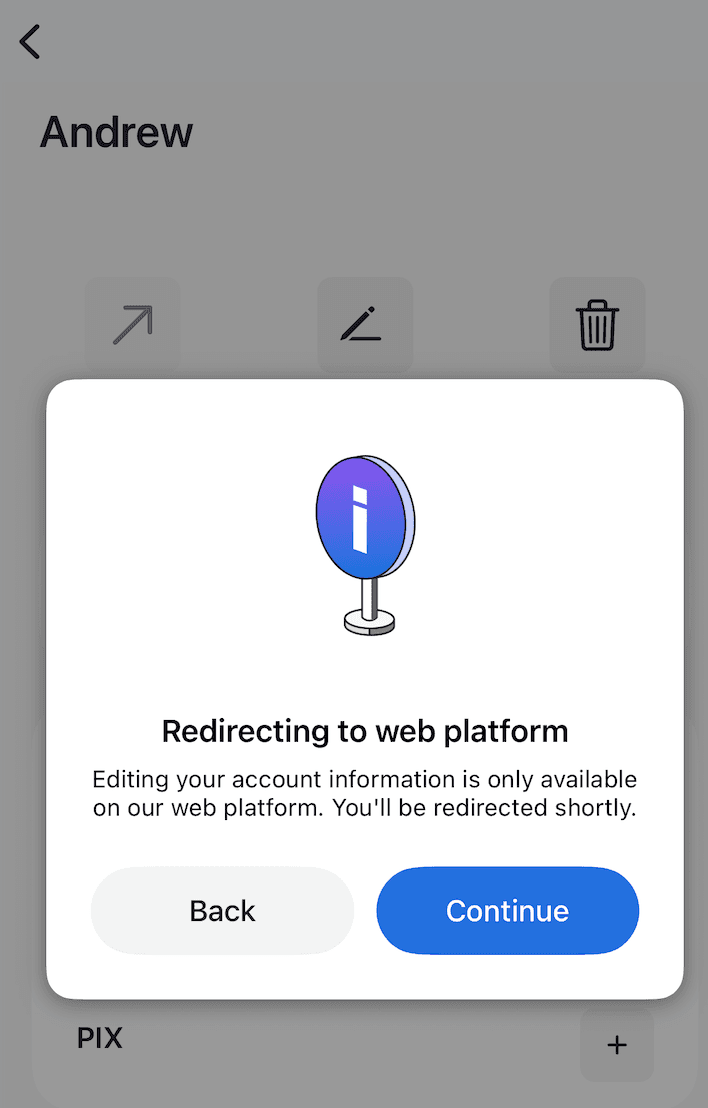
- The app will show a message: "Redirecting to web platform"
- Tap [Continue].
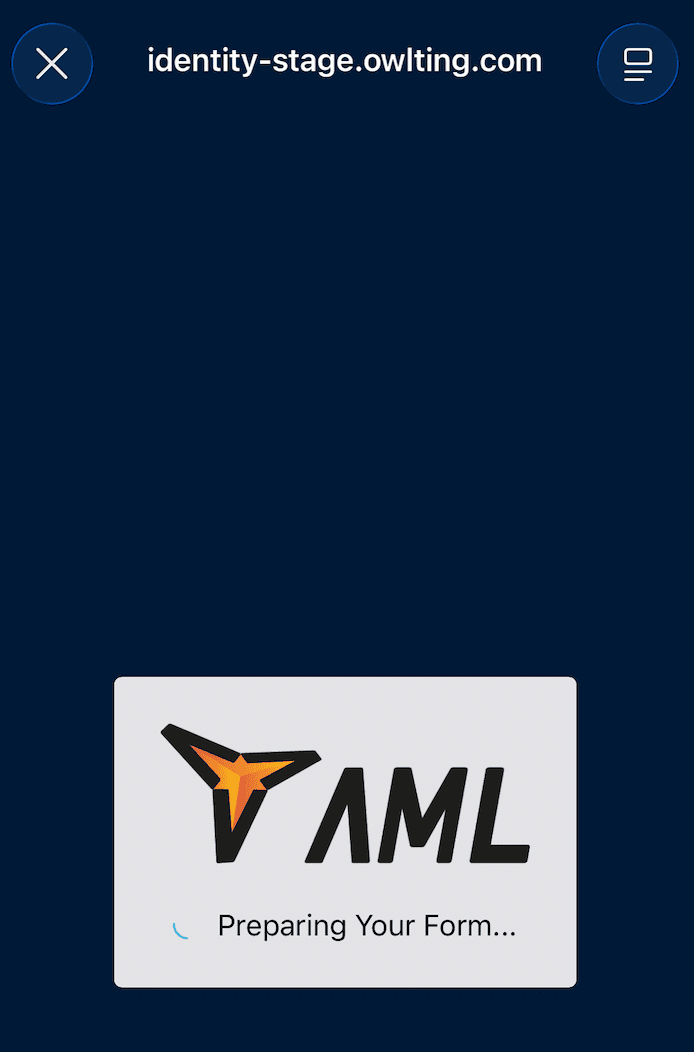
- ↓ Your phone will open the browser and take you to filling the bank account information. (OwlTing AML Form)

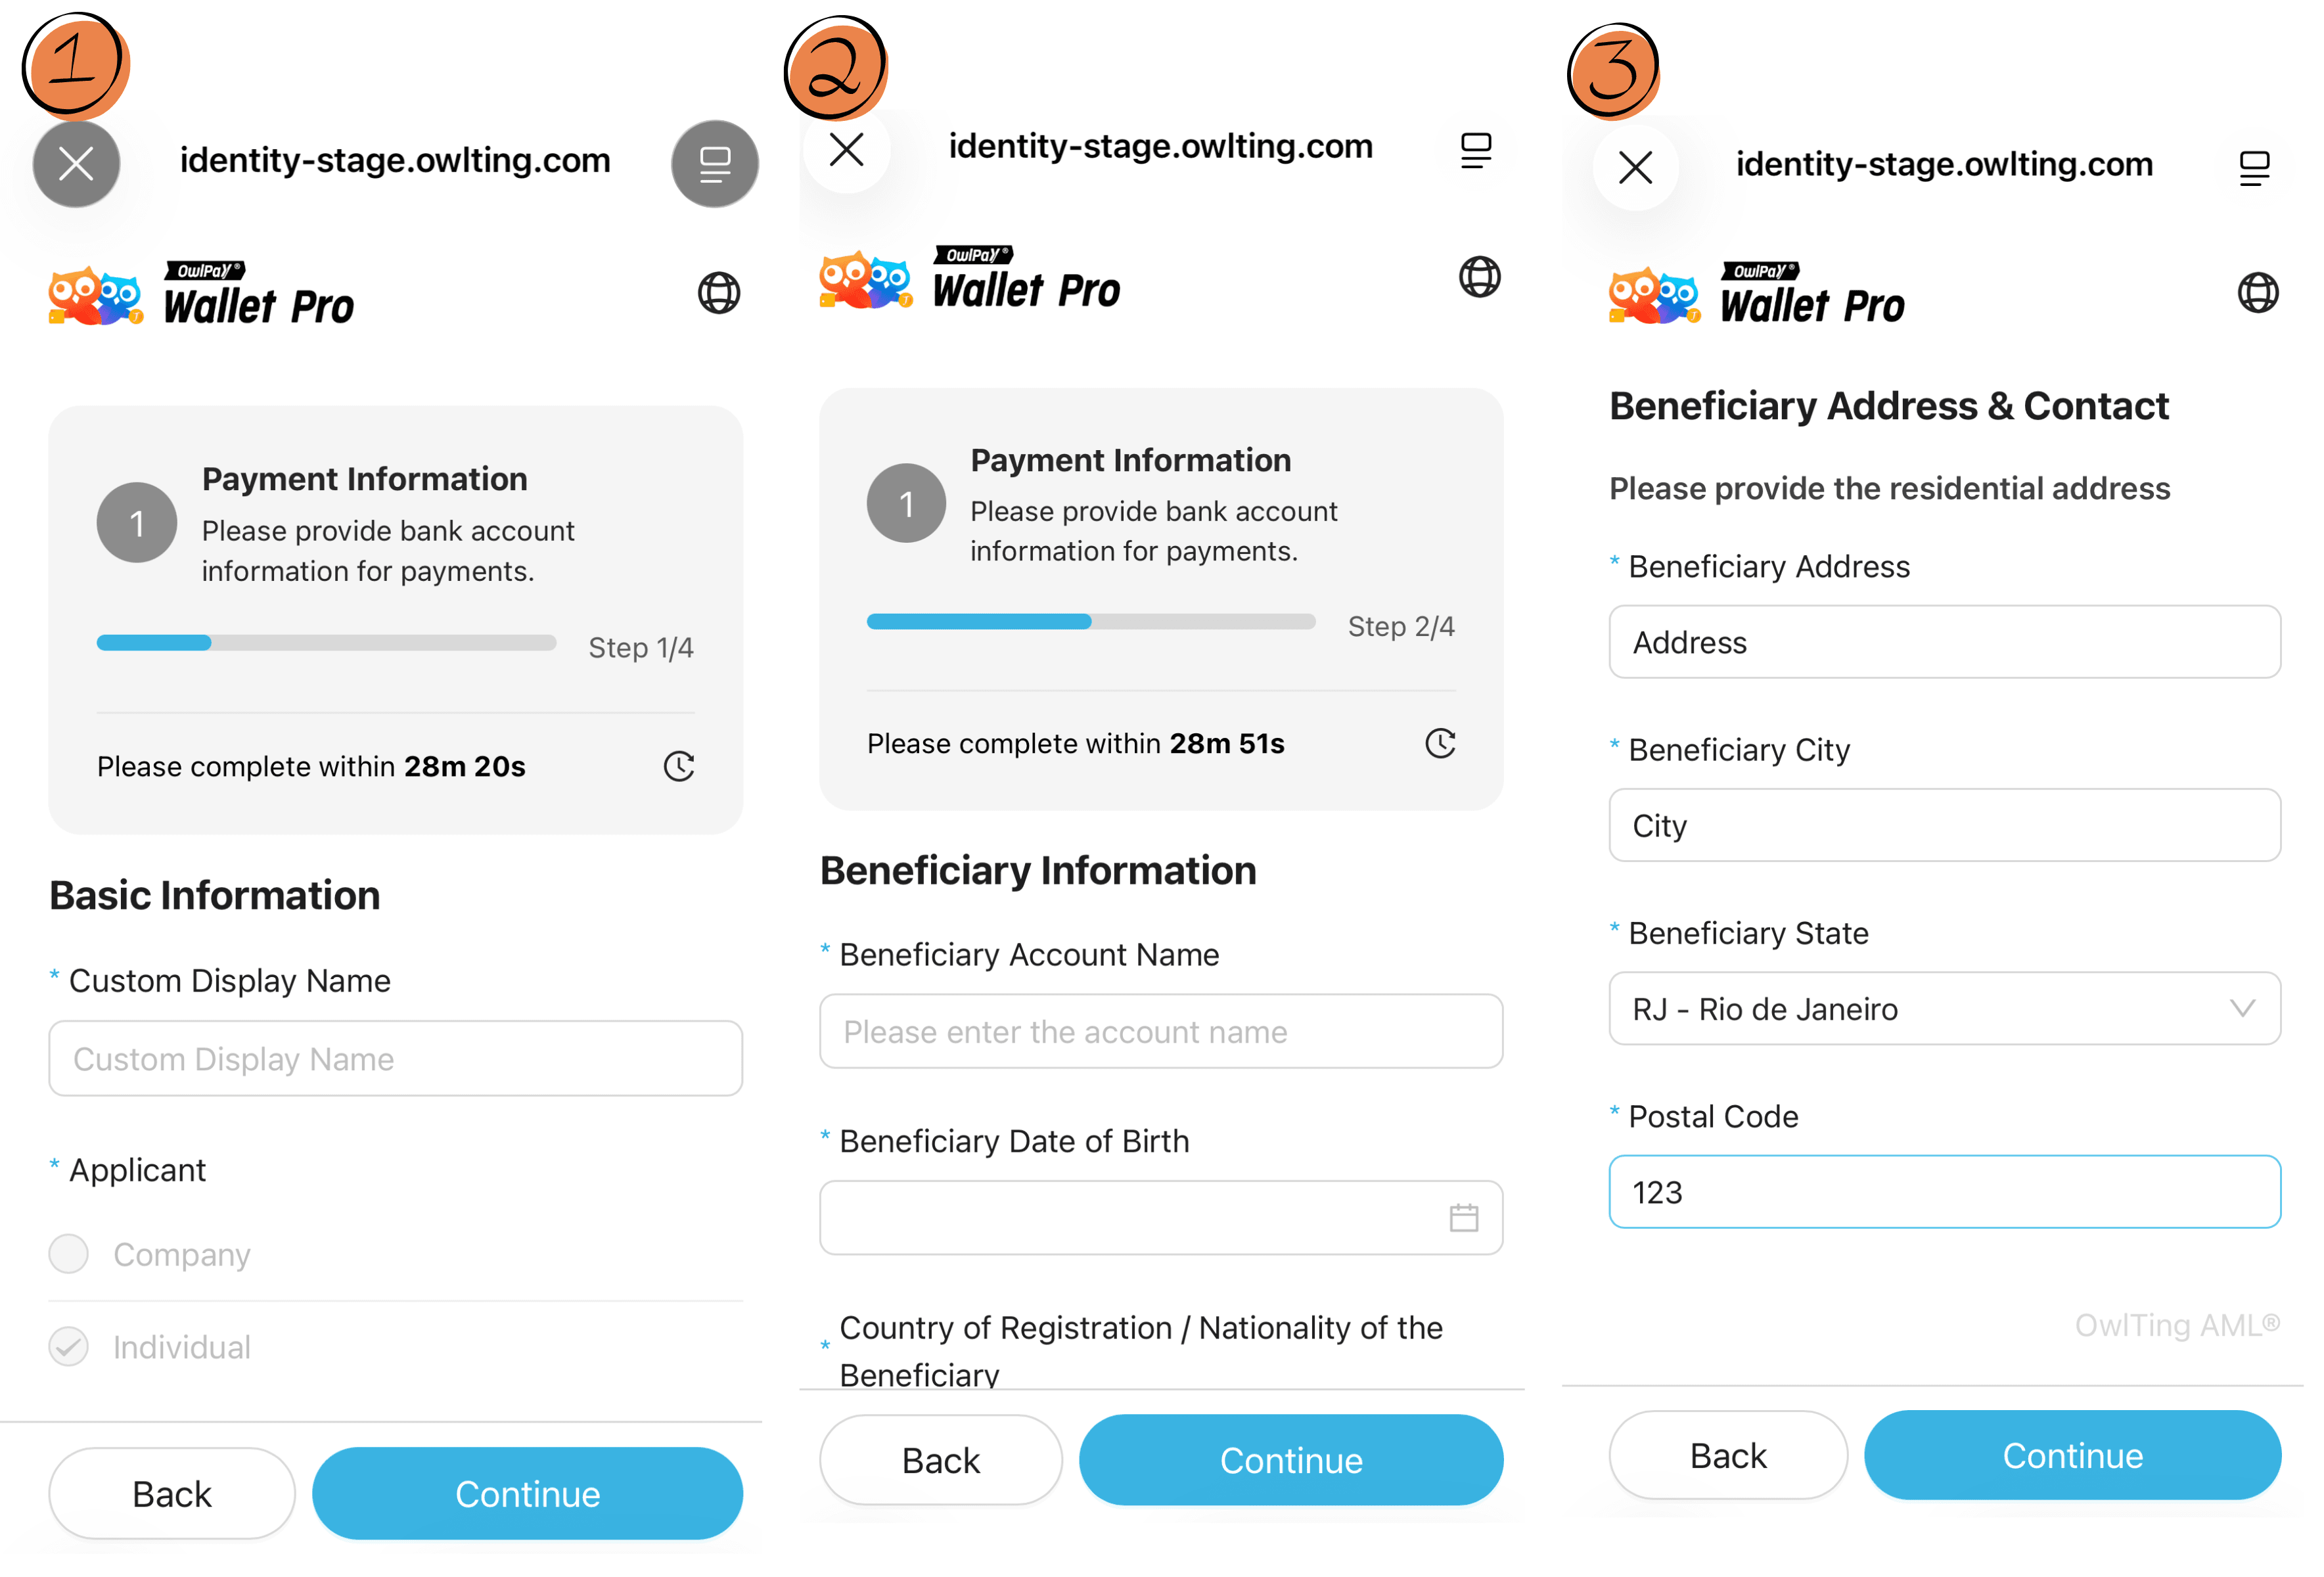
Step 2: Fill in the Account Information
- Basic Information
- Custom Display Name
- Applicant → Individual (most users) or Company
- Receiving Country → e.g. BR – BrazilCurrency → BRL (or USD, EUR, etc.)
- Beneficiary Information
- Beneficiary Account Name → recipient’s full legal name
- Date of Birth → e.g. 1979-12-04
- Nationality → BR – Brazil
- ID Type → National ID (for Brazil = CPF)
- ID Number → 11-digit CPF number (critical!)
- Beneficiary Address & Contact
- Full residential address
- City, state (e.g. RJ – Rio de Janeiro)
- Postal code (CEP)
ID Type & ID Number
- Re-enter CPF (system double-checks)
- PIX Key (email, phone, or CPF key), bank name, branch, etc. (only if bank transfer is selected)
- Tap [Submit]
- You’ll see “Submit successfully” + “OwlTing has received your KYC application”
- Returns to the app → final screen “Complete your identity verification”
- Tap the orange Verify button
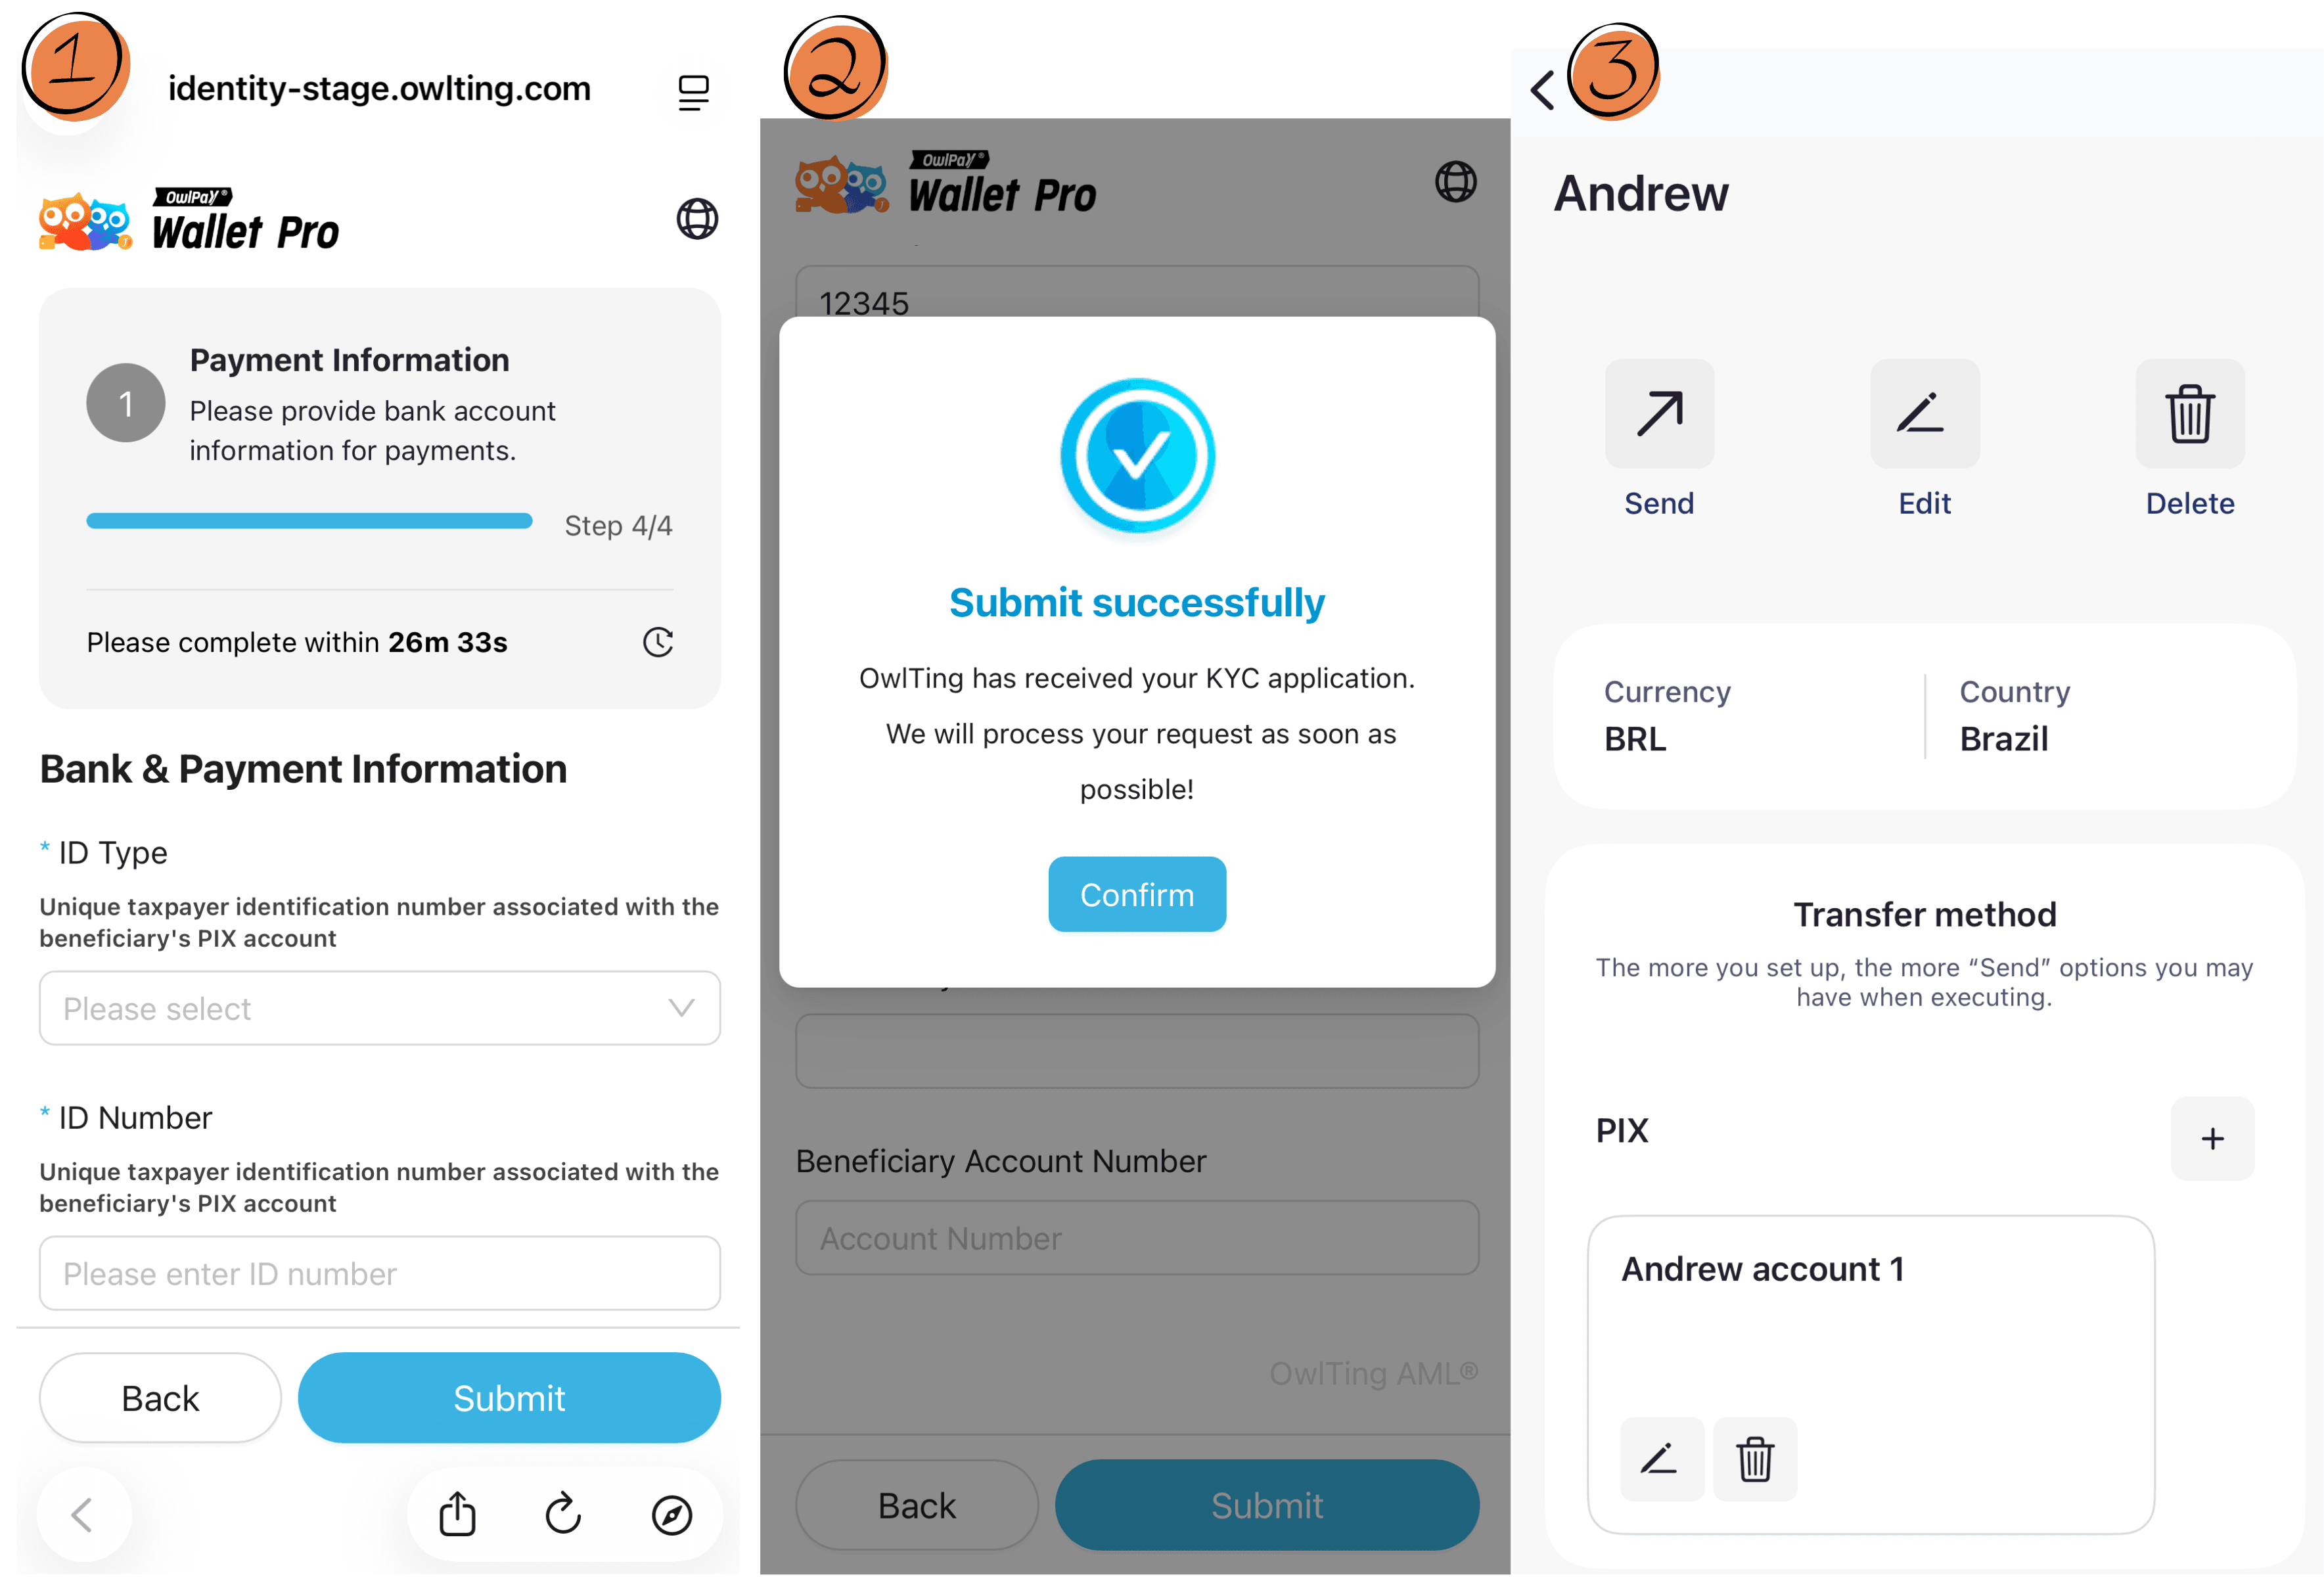
Once completed on the web, return to the app — the PIX transfer method should now be successfully linked to the recipient.
- Returns to the app
- “Complete your identity verification” notification window pops up automatically
- Tap [Verify]
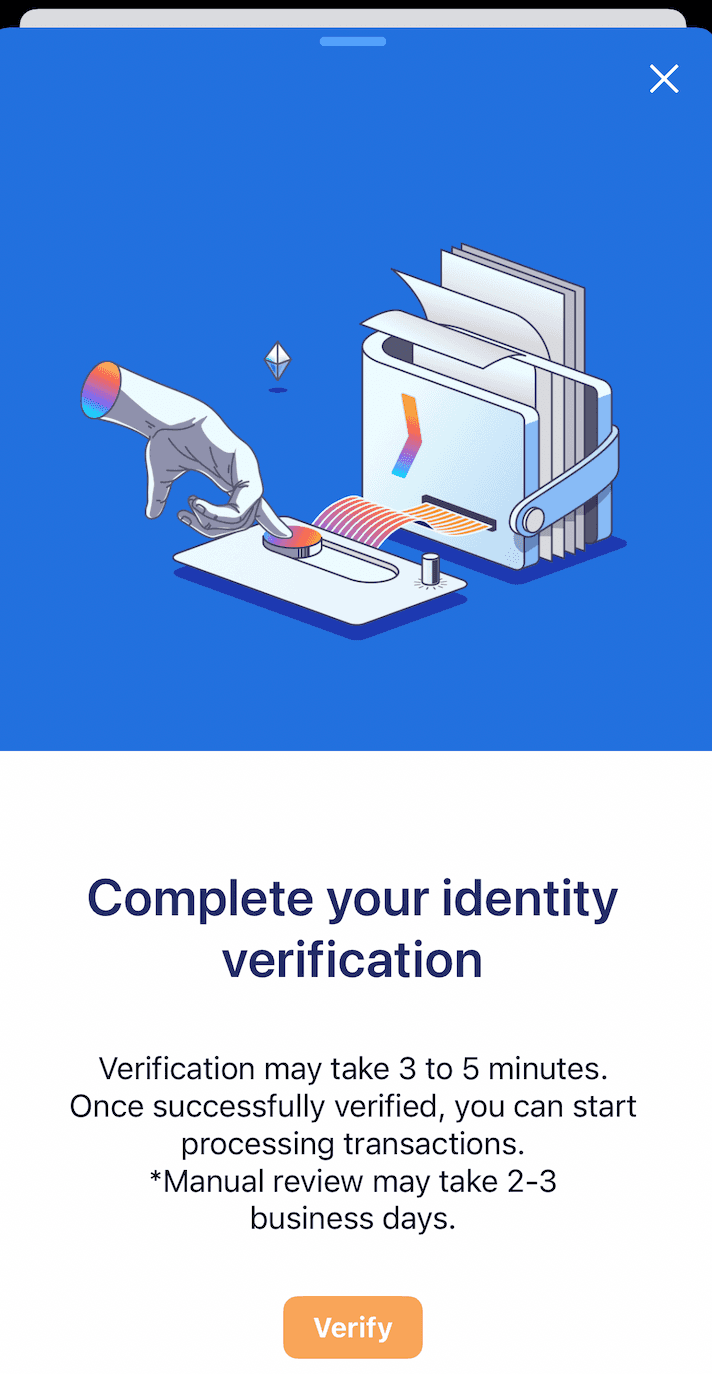
Step 3: Complete KYC Verification for Your Web3 Wallet
Once successfully verified you can start processing transactions. (Manual review may take 2-3 business days)
- Start Identity Verification
Tap the orange button [Verify] to begin the process.
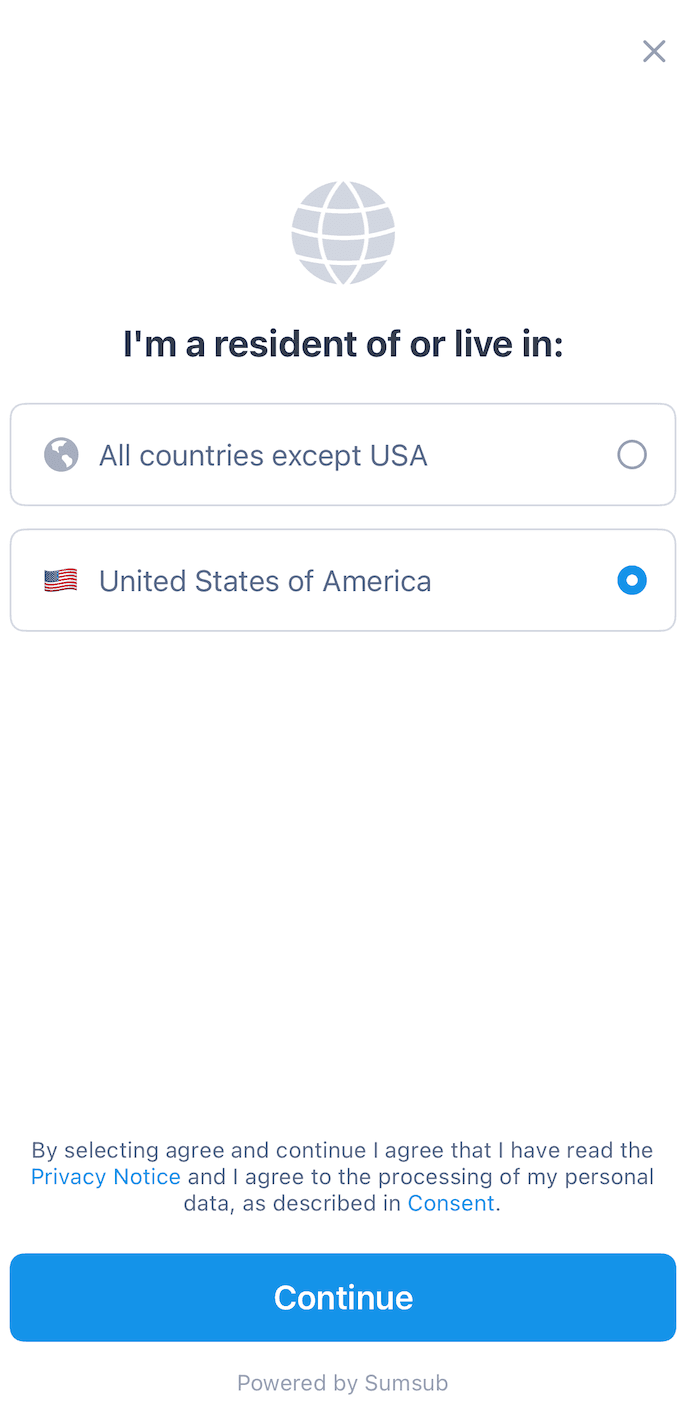

- ↑ Select Your Residence Country
Choose where you are a resident or live in, and tap [Continue] .
- Identity Verification – Selfie Step
You will see “Verify your identity (It will only take 2 minutes)
Tap Selfie → Follow the on-screen instructions to take a live selfie.
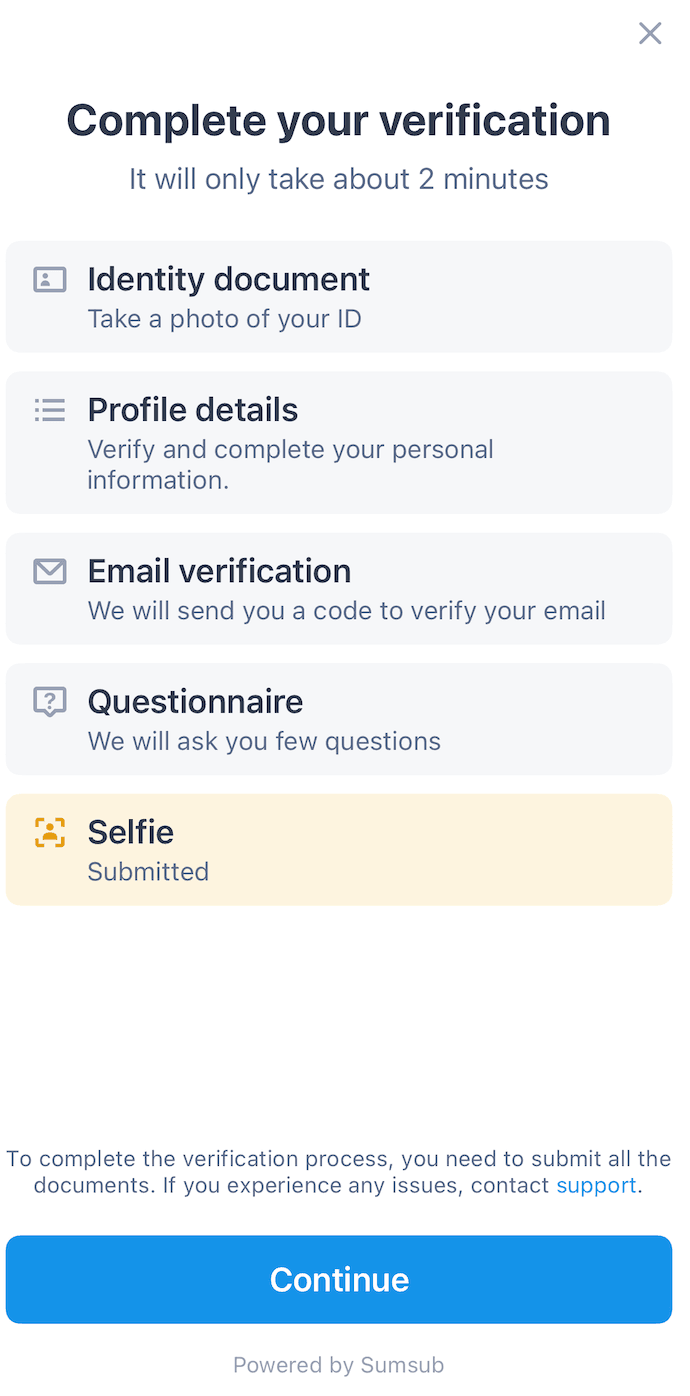
- After the selfie is processed, you will see four remaining items:
- Identity document (take a photo of your ID)
- Profile details
- Email verification (a code will be sent to your email)
- Questionnaire
- The Selfie step will be marked as Submitted.
- Tap the blue Continue button when ready.
- Upload Identity Document (ID Card / Passport)
- Take clear photos of your ID.
- Once uploaded, tap Document is readable (blue button).
- You can also select Retake photo if needed.
- You can also select Retake photo if needed.
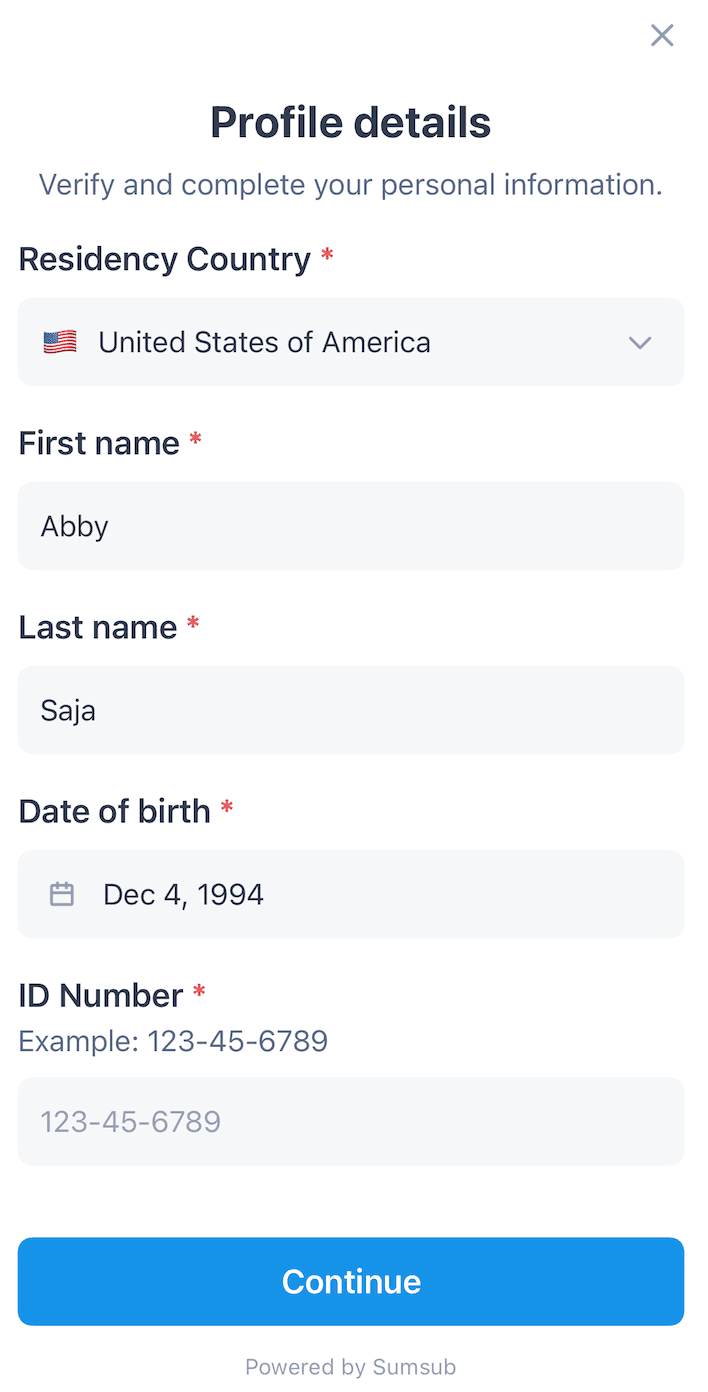
- Verify and complete your personal information:
- Residence Country: United States of America (example)
- First name: Abby
- Last name: Saia
- Date of birth: Dec 4, 1994
- ID Number: e.g., 123-45-6789
- After filling everything correctly, tap the blue Continue button.
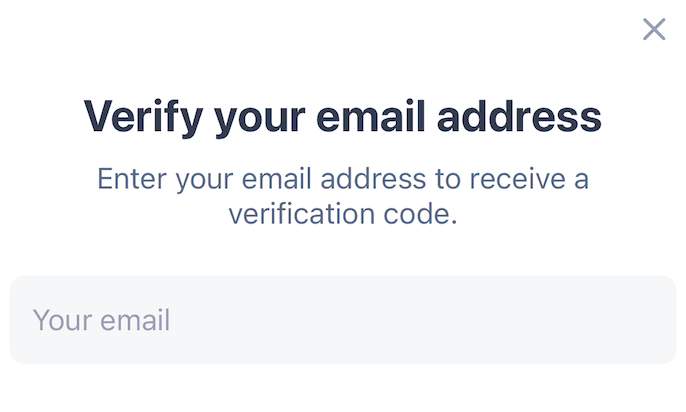
- ↑ Verify Your Email Address
- Enter your email address.
- A 6-digit verification code will be sent to your inbox. Enter the code to proceed.
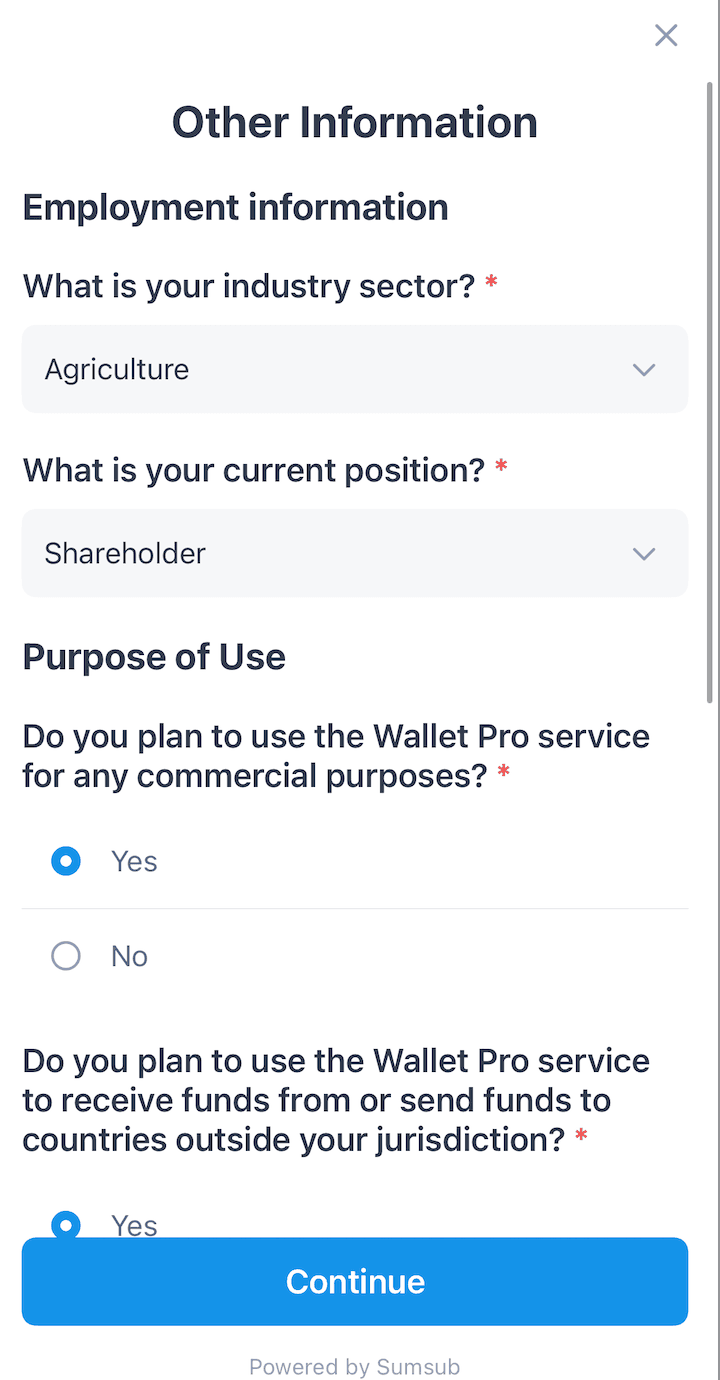
- Other Information / Questionnaire
Fill in the following details:- Employment information
- What is your industry sector? → e.g., Agriculture
- What is your current position? → e.g., Shareholder
- Purpose of Use
- Do you plan to use the Wallet Pro service for any commercial purpose? → Yes / No
- Do you plan to use the Wallet Pro service to receive funds from or send funds to countries outside your jurisdiction? → Yes / No
- What is your primary purpose for using our on/off ramp service? (you may select more than one)
- After completing all questions, tap the blue Continue button.
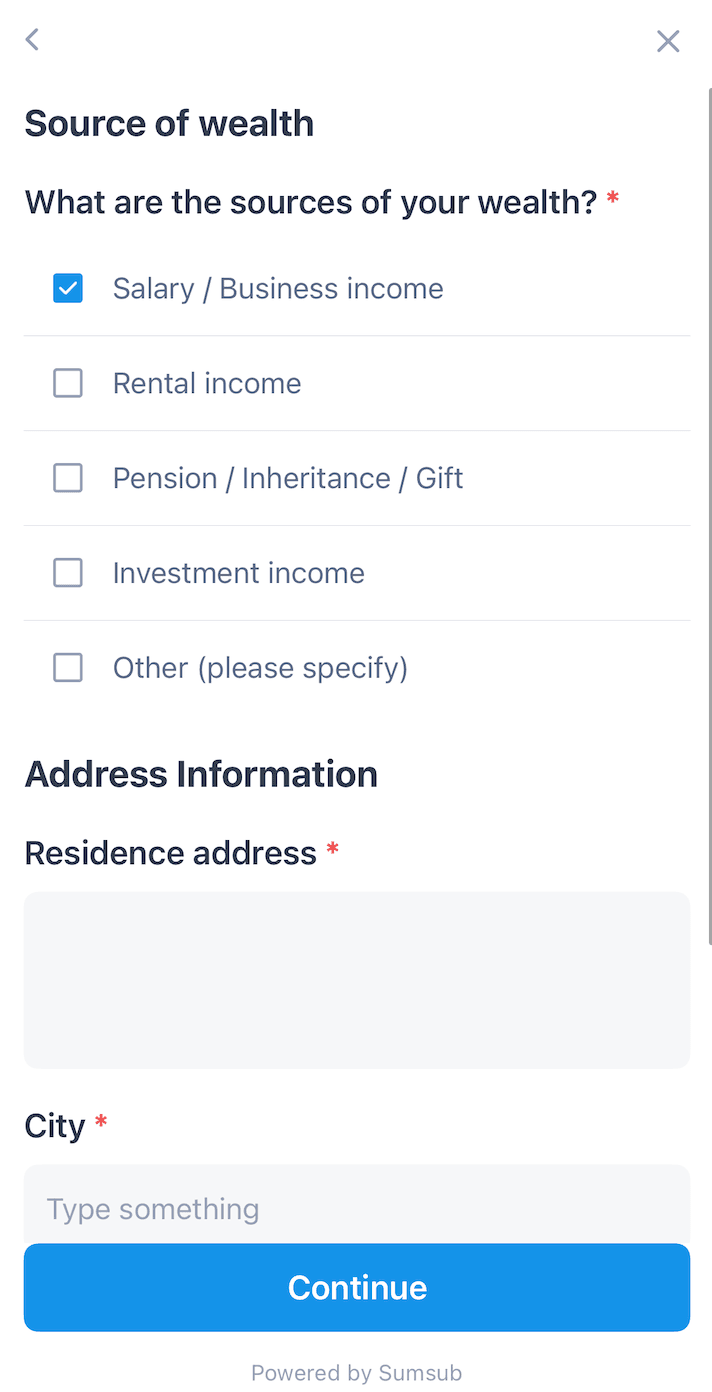
- Source of Wealth
Select the source(s) of your wealth (multiple choices allowed):- Salary / Business income
- Rental income
- Pension / Inheritance / Gift
- Investment income
- Other
- Tap Continue.
- Address Information
- Enter your residential address
- Country (auto-filled)
- City
- Street address, apartment, etc.
- Tap the blue Continue button.
- Final Submission & Acceptance
After all steps are completed and reviewed, you will see the message:
Your data has been accepted ✓
Congratulations! Your KYC verification is now complete and submitted for review (manual review may take 2–3 business days). Once approved, you can send USDC directly to local bank accounts!
Related Articles
- Still don't have a wallet, or want to set up a brand new one?
→ Refer to: OwlPay Wallet Pro Guide (Part 1): Create or Import Your Wallet in Minutes - Recipients all set? Now you're ready to send USDC directly to local bank accounts!
→ Refer to: OwlPay Wallet Pro: Complete Guide (Part 3)|Send USDC with Real-Time Conversion to Local Currency