


Wallet Pro
OwlPay Wallet Pro: Complete Guide (Part 3)|Send USDC with Real-Time Conversion to Local Currency
December 15, 2025
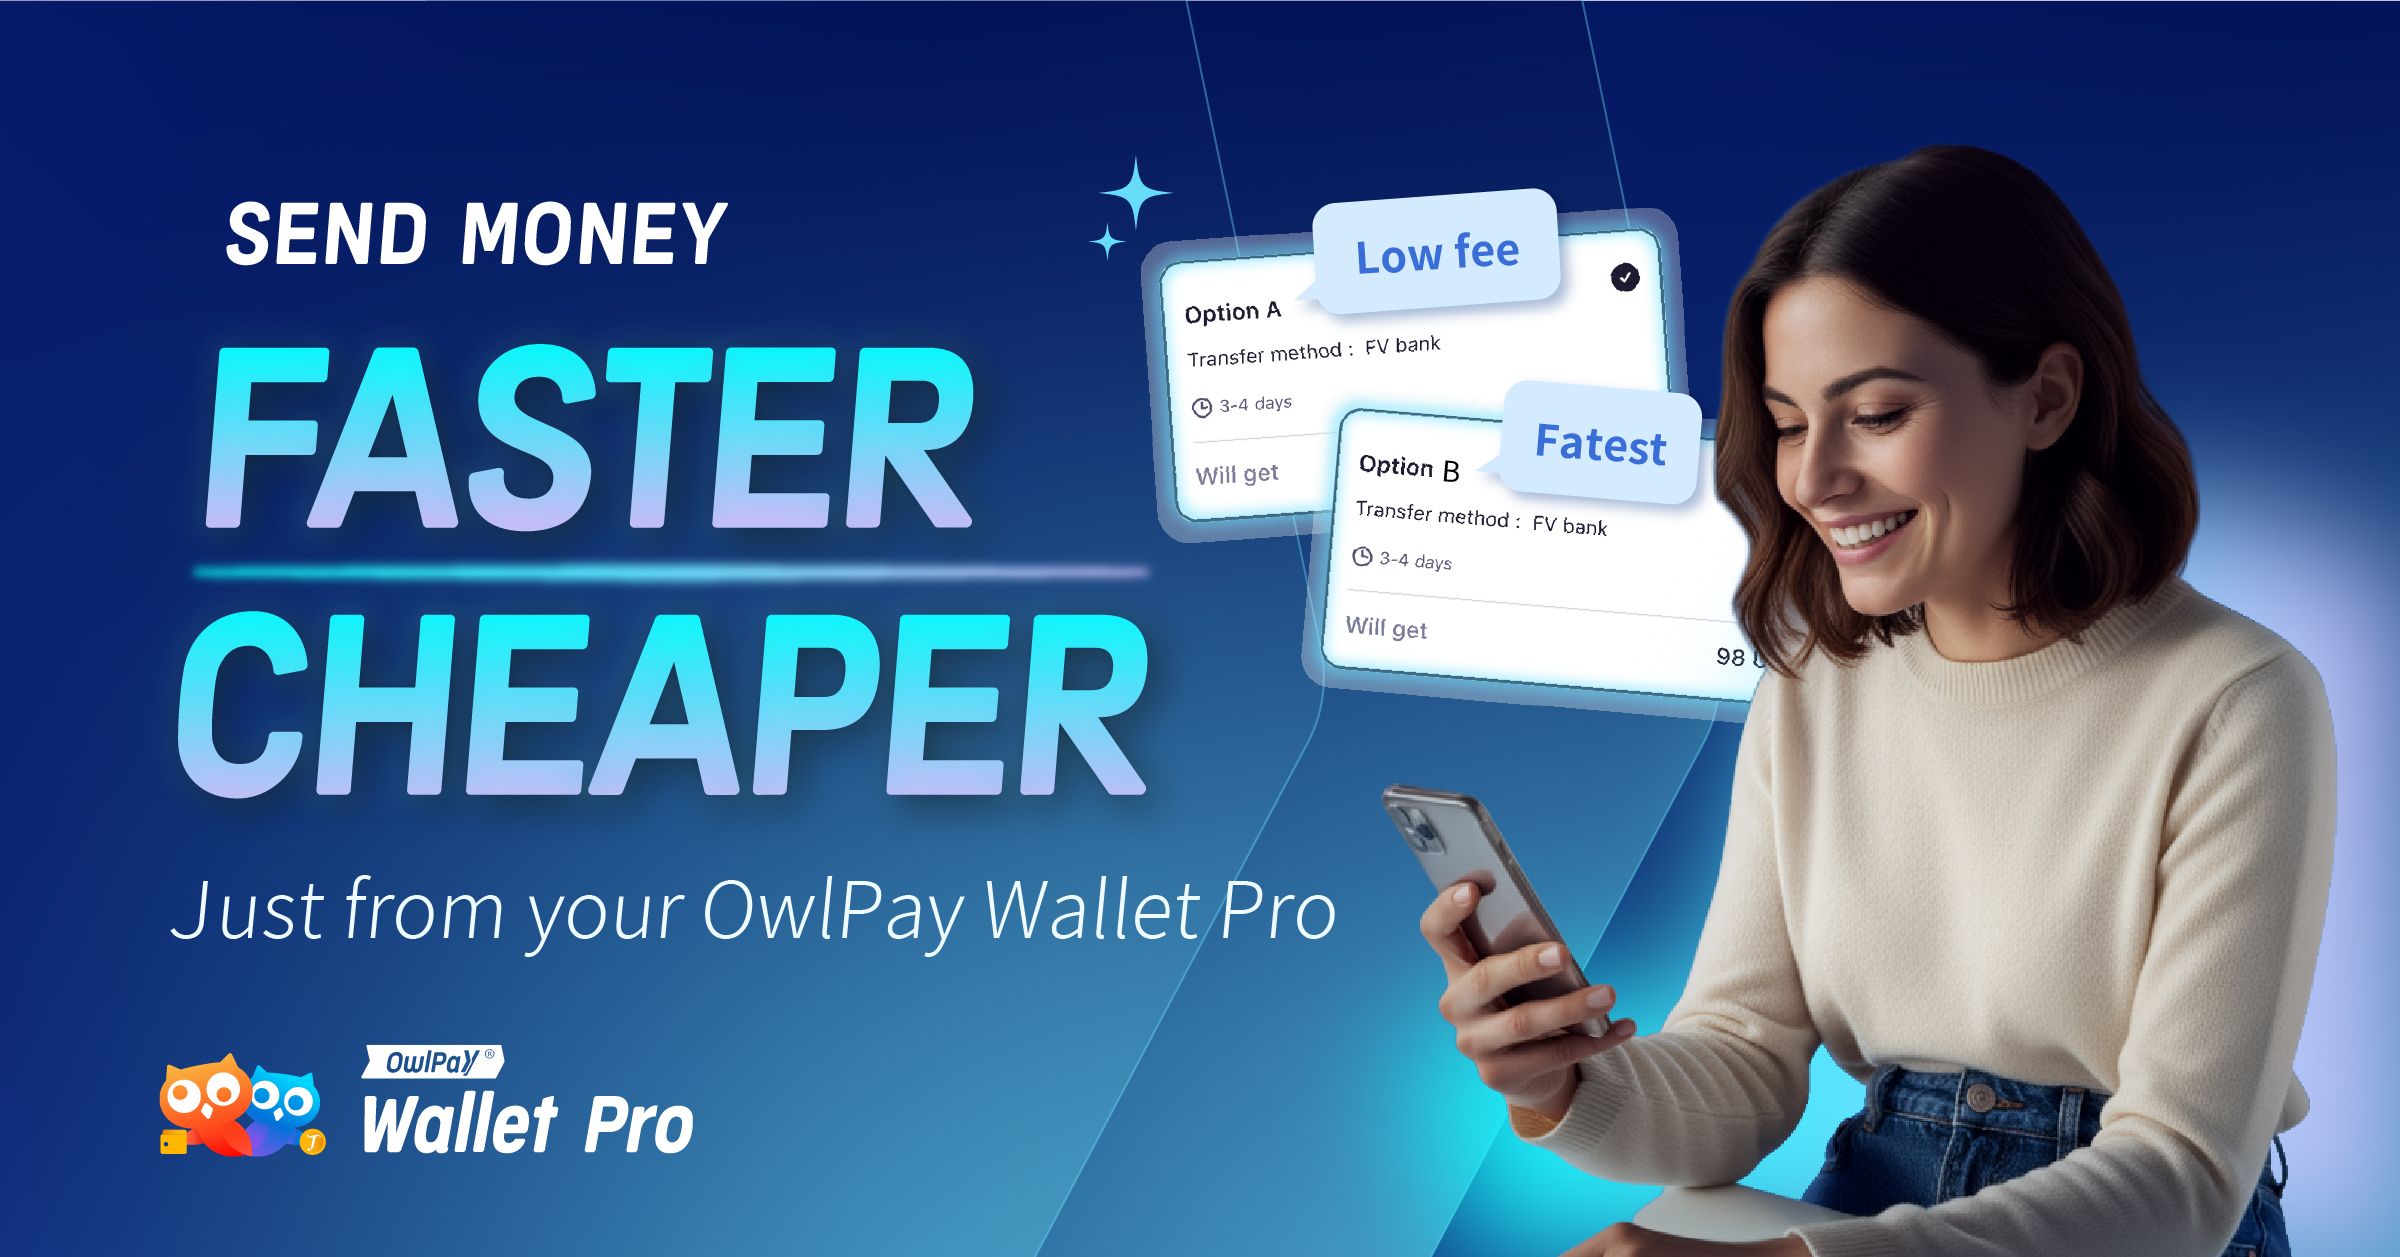
In the previous article, we demonstrated how to add a new recipient and fill in their account details. Now, in this guide, we'll walk you step-by-step through the Send feature to convert and transfer USDC directly as local currency (fiat) to your recipient's bank account. Get ready to experience fast, low-cost cross-border payments with OwlPay Wallet Pro!
📍Download OwlPay Wallet Pro Now!
![[CPN] 合併圖.png](https://strapiv4.owlpay.com/uploads/CPN_5808382d4b.png)
Step 1: Select A Recipient
- From the home screen, tap [Send].
- Choose whether you want to send [Crypto] (direct USDC to a wallet) or [Fiat] (USDC will be automatically converted and sent as local currency to the recipient’s bank account).
- Select an existing contact.
- If you haven't added a recipient yet, tap [Add recipient] at the bottom. (Here's [How to Add New Recipients])
![[CPN] 合併圖 (4).png](https://strapiv4.owlpay.com/uploads/CPN_4_44e3374df1.png)
Step 2: Choose Network
- Choose the USDC network you want to use & enter the amount.
- Review everything, then tap Continue.
Step 3: Verify your Email
- Check your inbox.
- Enter the 6-digit code in the app.
![[CPN] 合併圖 (2).png](https://strapiv4.owlpay.com/uploads/CPN_2_4cf4ba4634.png)
Step 4: Select Your Transfer Option
- You will see the payout options for the recipient’s country.
- Choose the option you prefer.
- The cheapest transfer method will be marked with a “Low fee” label, while the one with the estimated shortest arrival time will display a ”Fastest“ label.
- If any transfer methods show “Set up now”:
- Tap “Set up now” → it will redirect you to the web platform to complete a quick one-time bank setup (takes 1–2 minutes).
- Choose your network fee option:
- pay in USDC
- pay in the native token (native currency).
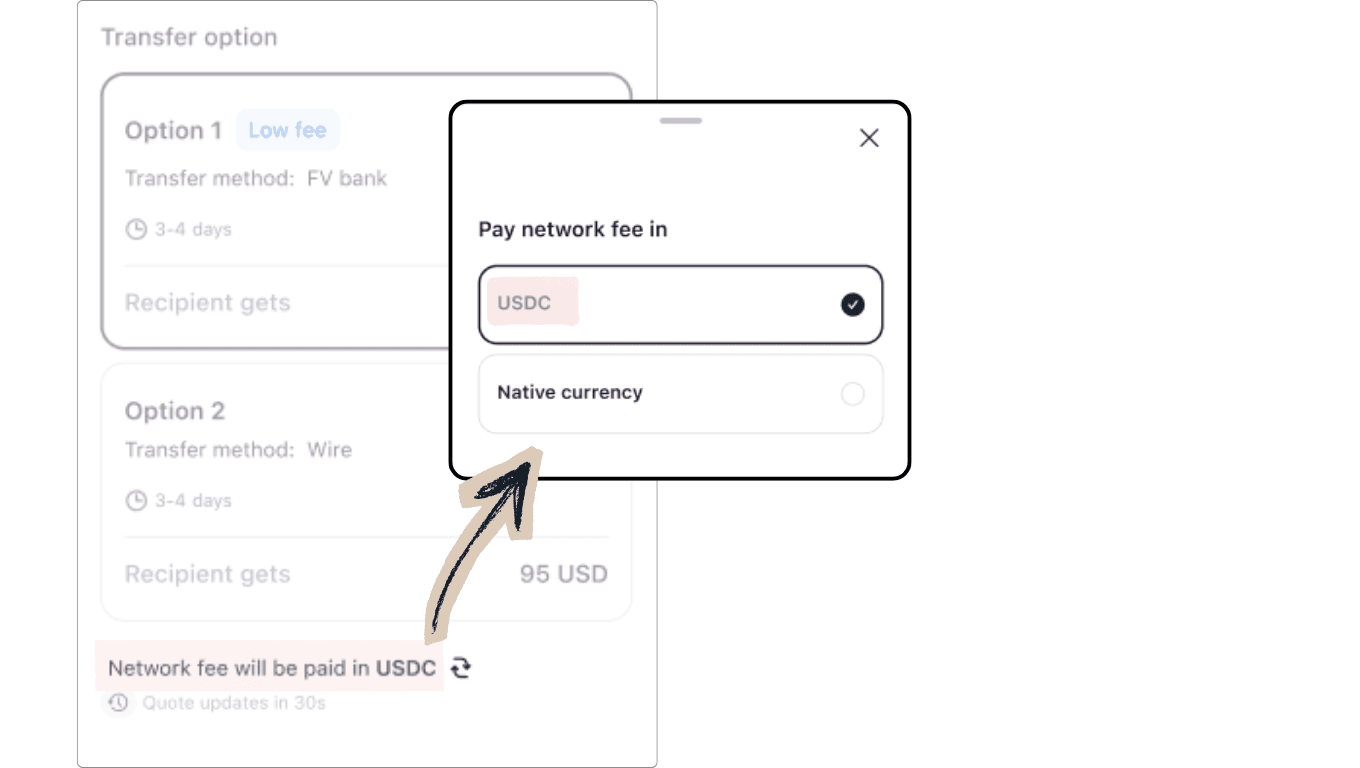
.
- Once the desired option is selected, tap [Continue] at the bottom.
- Select [Recipient account]
- Select [Transaction purpose]
- Review transfer details and tap [confirm]
.
.
![[CPN] 合併圖 (3).png](https://strapiv4.owlpay.com/uploads/CPN_3_538eef447a.png)
- You’ll immediately see Transaction submitted. Your USDC is deducted instantly and shows as “Succeeded” in History.
- The recipient side shows as Processing while the local banking rails handle the payout.
- Once completed, the transaction in History turns green on both sides and the recipient receives the full local-currency amount directly in their bank account (no crypto wallet needed on their end).
❏ Important:
The Send feature (convert USDC to fiat and deposit directly into the recipient’s local bank account) currently supports payouts to bank accounts in the following countries:
| Payout Country / Region | Code | Currency Paid to Recipient |
|---|---|---|
| Mexico | MX | MXN |
| Brazil | BR | BRL |
| Nigeria | NG | NGN |
| Colombia | CO | COP |
| India | IN | INR |
| Hong Kong | HK | HKD / USD |
| China | CN | CNY / USD |
(More countries are being added regularly, so stay tuned for updates!)
Related Articles:
- Still don't have a wallet, or want to set up a brand new one?
→ Refer to this detailed tutorial: OwlPay Wallet Pro Guide (Part 1): Create or Import Your Wallet in Minutes - Haven't added the recipient yet?
→ Refer to our previous guide: OwlPay Wallet Pro: Complete Guide (Part 2)|Add Recipients and Start Sending Globally - New Feature: Send USDC Directly to Local Bank Accounts | OwlPay Wallet Pro
📍Download OwlPay Wallet Pro Now!
In This Article
Step 1: Select A Recipient
Step 2: Choose Network
Step 3: Verify your Email
Step 4: Select Your Transfer Option
Related Articles: